Starting a Shopify store is one of the best options to get up and running with a new online business today. Shopify makes it easy to build a professional eCommerce store for everyone is skill level. From beginners to experts, it requires no prior coding knowledge. It does not matter if you want to sell in the USA, Europe, or worldwide, Shopify provides the best tools to launch, run, and grow your business online.
This guide provides the steps to setting up a Shopify store in the most straightforward way.
Shopify: What is It and What Makes It Good
Shopify is a software-as-a-service eCommerce store provider that lets you set up, modify, and run an online store. It takes care of everything from web hosting to payment processing, all the way to security and order management.
What makes Shopify a good choice for store owners
- Very new user friendly
- Applicable to businesses of all sizes
- High reputation in security and stability
- Works with a variety of currencies and countries
- Perfect for businesses in the USA and Europe
It is common to see startups, brands, and large corporations utilizing Shopify.
Step 1: Sign Up For Shopify
To build a Shopify store, go to Shopify’s official website and sign up with your email. Take advantage of Shopify’s free trial to test the website to see if it meets your needs.
When signing up, Shopify will request:
- Your store name
- Your selling experience
- Your store location
Keep in mind that your store name will serve as your default Shopify URL, and you can add a custom URL later on.
Step 2: Determine the Best Shopify Plan For You
Depending on your business needs, Shopify has multiple pricing plans.
The most popular Shopify pricing plans are:
- Basic Shopify – recommended for newcomers
- Shopify – good for growing stores
- Advanced Shopify – for scaling stores
If you are brand new and just getting started with Shopify, you don’t have to think twice; just go with the Basic plan.
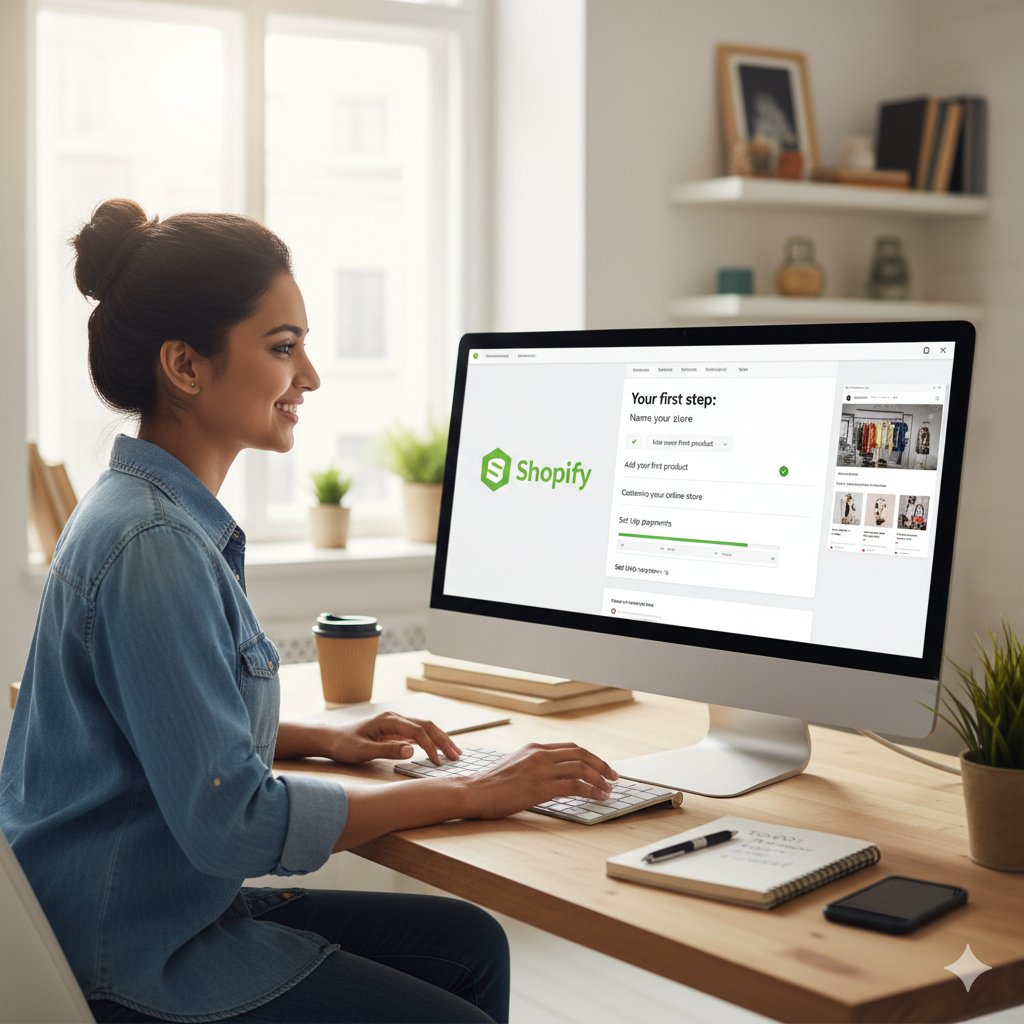
Step 3: Complete Initial Store Settings
Once logged in, you will land on the Shopify admin dashboard. This will serve as your control center for your store.
The first things you should start configuring are:
- Store location (address, currency, time zone)
- Business details
- Legal policies (privacy, terms, and refund policies)
The documentation is particularly important if you are selling to customers in the USA and Europe, as it helps build trustworthiness.
Step 4: Select and Personalize a Shopify Theme
The design of your store is essential to the customer experience and the overall user interface. Shopify has several design templates, both paid and free. All of them are professional and adaptable to mobile devices.
Instructions for selecting a design template.
- Select the design template that is simple and has a layout that will load quickly.
- Check that the template is responsive for mobile devices.
- Select a design template based on the products you are going to sell.
You will also be able to change the colors, fonts, and banners as well as the arrangement of the components on the page, and you will be able to do so without having to write any code.
Step 5: Start Adding Products to the Store on Shopify
At this point, you should begin to list the products that will be available for sale.
For every product, you will need to add:
- a title for the product
- a description that is as detailed as possible
- pictures that are of good quality
- the sale price
- information about inventory
When you write your description, do so in a way that will boost sales. This will also help you in the placement of your products in the search engine, especially if you will be selling to a highly competitive area, such as the USA.
Step 6: Set Up Payment Options
When building a Shopify store, one of the most crucial elements to consider is the payments.
You can use Shopify Payments to process payments using:
- a credit or debit card
- Apple or Google Pay
- payment methods that are available locally
Since Shopify Payments uses Stripe, it is available for merchants in the USA and most of Europe. You will also be able to avoid paying an additional processing fee if you use Shopify payments.
If it is necessary, you will also be able to use PayPal or other payment methods.
Step 7: Setting Up Shipping and Taxes
Describe how important setting up shipping and taxes are so customers do not become frustrated.
Shipping Policies
- Shipping zones (USA, Europe, International)
- Set up flat rate or weight rate shipping
- If possible, offer free shipping.
Taxes
- Tax settings are automated, but check to make sure they correspond to your business location.
Trust and successful check out are two important aspects of your business, having shipping and tax policies in place shows customers you value their time.
Step 8: Setting Up Custom Domain
Adding a custom domain to your store offers reliability and professionalism to potential customers.
You have two options: buying a domain through Shopify or connecting a domain your business already owns.
For business sake, having a domain like www.yourbrand.com looks a lot more trustworthy than a Shopify domain.
Step 9: Testing your Shopify Store
Make testing a priority before launching.
Some things to check:
- If you can add to cart
- The steps in checkout
- If payment options work
- Responsiveness of mobile version (if you have one)
- If payment options work
- Test emails work
Use the test payment feature to check that you can buy things without paying.
Step 10: Launch your Shopify Store
When you`ve completed your testing, make the password protection settings to your store go.
Your store is now ready to make sales, so congratulations!
Step 11: Optimizing Your Store
Put simply, check your store’s SEO if you want to capture users in the organic channel.
Here are a few simple tips to improve your store’s Shopify SEO:
- Use products that have a lot of use.
- Write straightforward descriptions.
- Use image alt text.
- Create blogs when you have the time.
Your store has a better chance of appearing in the search results when users search via Google when you implement the tips above, especially if the users are located in the USA or Europe.
Step 12: Store Marketing
Think of marketing as the gas you pour into your store so that you can drive the sales.
Some marketing channels you could use are the following:
- Google Ads
- Ads on Meta, which consists of Facebook and Instagram
- Emails
- Ads via social media influencers
- Marketing based on content you create
If you use the channels mentioned above, you are likely to see a large marketing impact on your store.
Mistakes to Avoid When Creating a Shopify Store
- Selecting a theme that does not suite the store
- Forgetting that many users shop on mobile
- Having a checkout process that is confusing or long
- Settling for a not fun checkout process with payments
- Forgetting about SEO
It’s still possible to create a store while making these mistakes, but it is a waste of time and store.
Conclusion
If you follow the required steps, it is easy to learn how to create a Shopify Store. With the power of Shopify, you can create an online store with a process that is easy to scale and secure.
For many small business or brand builders who have their target audience in the USA or Europe, Shopify’s platform is a great place to start.
With the right payments, setup, and marketing efforts, your Shopify store can become a successful online business.